This tutorial is something of a mixed bag of different things. If there are any operations you're unsure about, please visit The Blender User Documentation Page for access to the User Guide. It's not totally current but for the items in this tutorial it's more than sufficient.
If all else fails (or even if it doesn't) please down load the tutorial blend file.
Let's begin...
|
 |
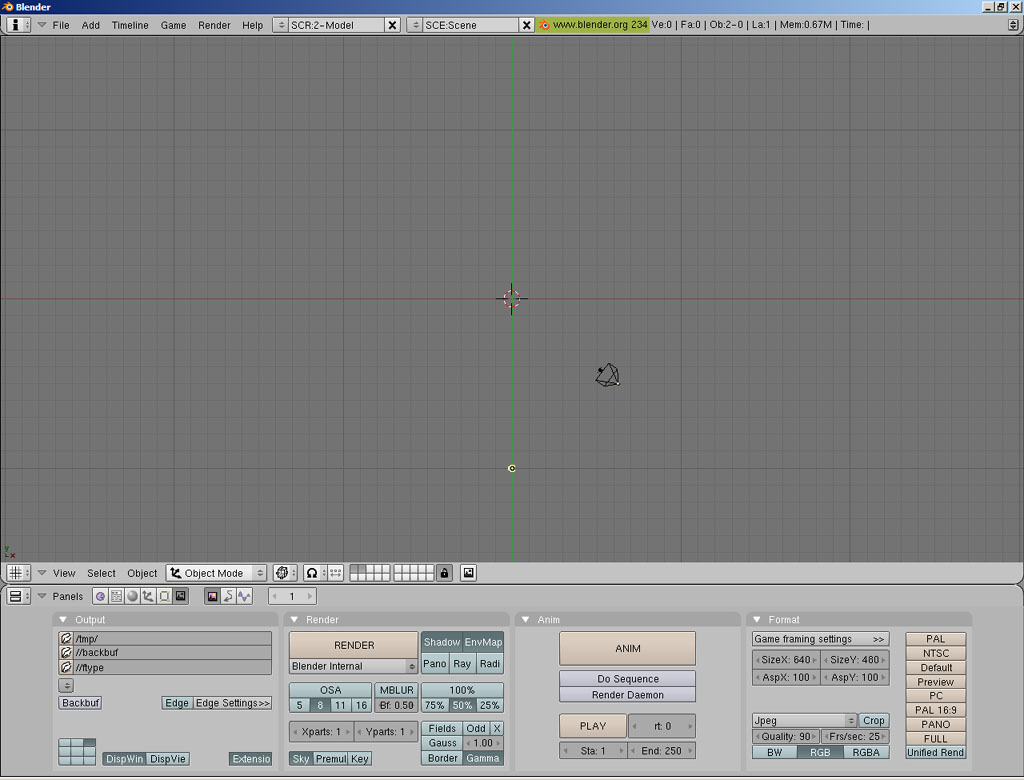
- Start Blender and you'll see the default scene with one lamp, one camera, and one cube which is highlighted.
- Delete the cube by pressing XKEY and then ENTER.
- Next switch to the front view by pressing NUM1.
|
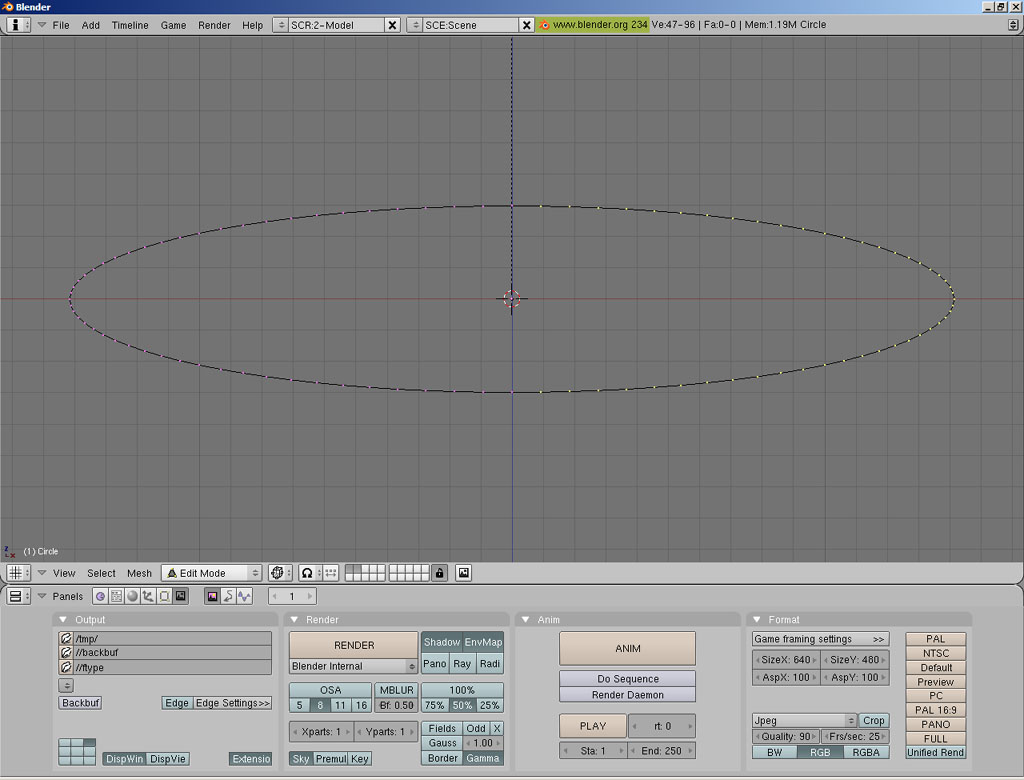
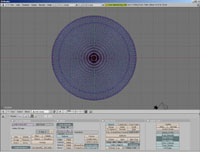
- Add a Mesh Circle with 96 Vertices.
- Zoom in using NUMPLUS until the circle is close enough to work with easily.
- Scale the circle along the Z axis (In blender Z is "up") until it matches the screen shot.
|
 |
 |
- All the vertices are selected (selected vertices are yellow) so lets unselect them by pressing AKEY.
- We are going to now delete the verts of the right side.
- Press BKEY (Box select) and draw a box around the vertices that are on the right side of the X Axis line (don't select the vertices that are ON the X axis line).
|
- Press XKEY and then select "Vertices" from the popup menu (either by mouse click or my pressing 1KEY) , all selected vertices have now been deleted.
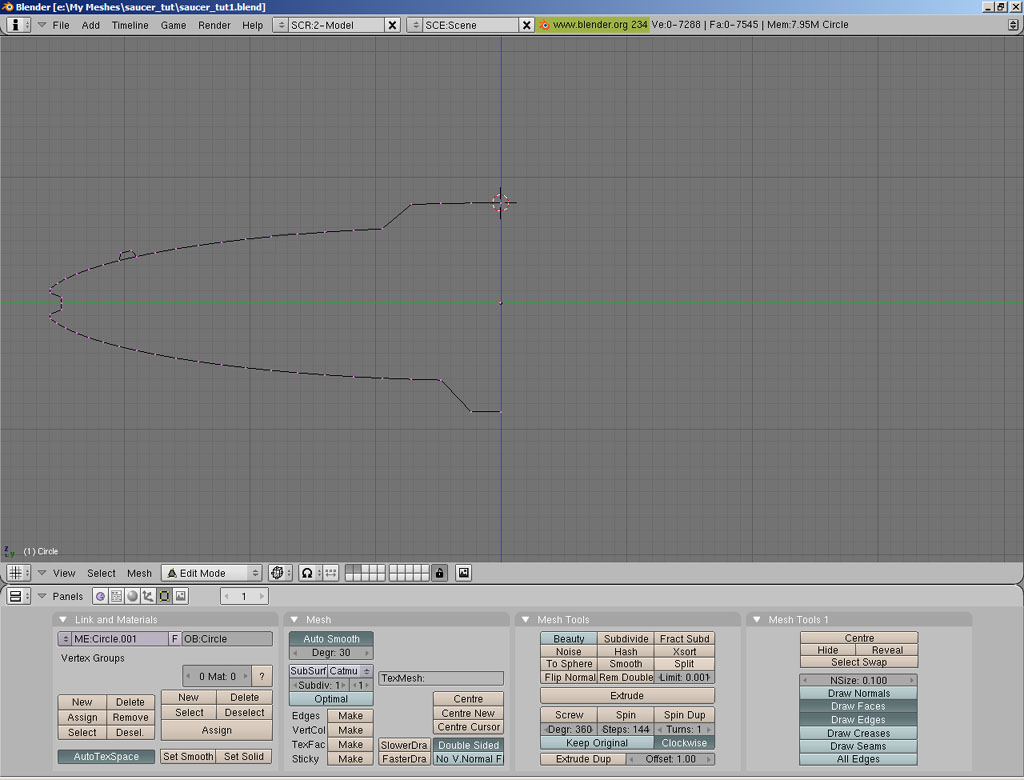
- Along the upper curve select the two vertices you want for the raised strip. Press EKey (Extrude) and move the two new vertices up.
- When you have them in the desired location press ENTER.
- Now scale them until they are closer together. If after the scale you still need to move them just press GKEY (Grab) and move them as desired and then press ENTER.
- Next move the other vertices until you get a shape similar to the screen shot.
- Select the upper right vertex and press SHIFT+SKEY and select "Cursor->Selection".
- Your screen should now look similar to the screen shot.
|
 |
 |
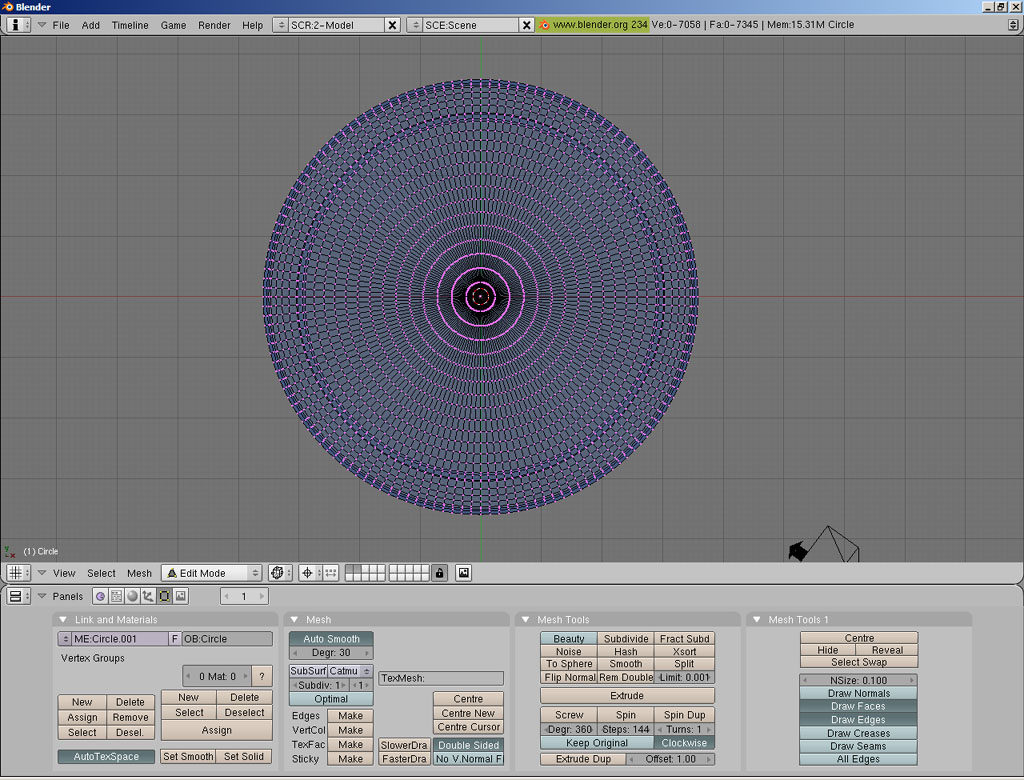
- Now switch to the top view by pressing NUM7.
- Switch to the edit buttons by pressing F9.
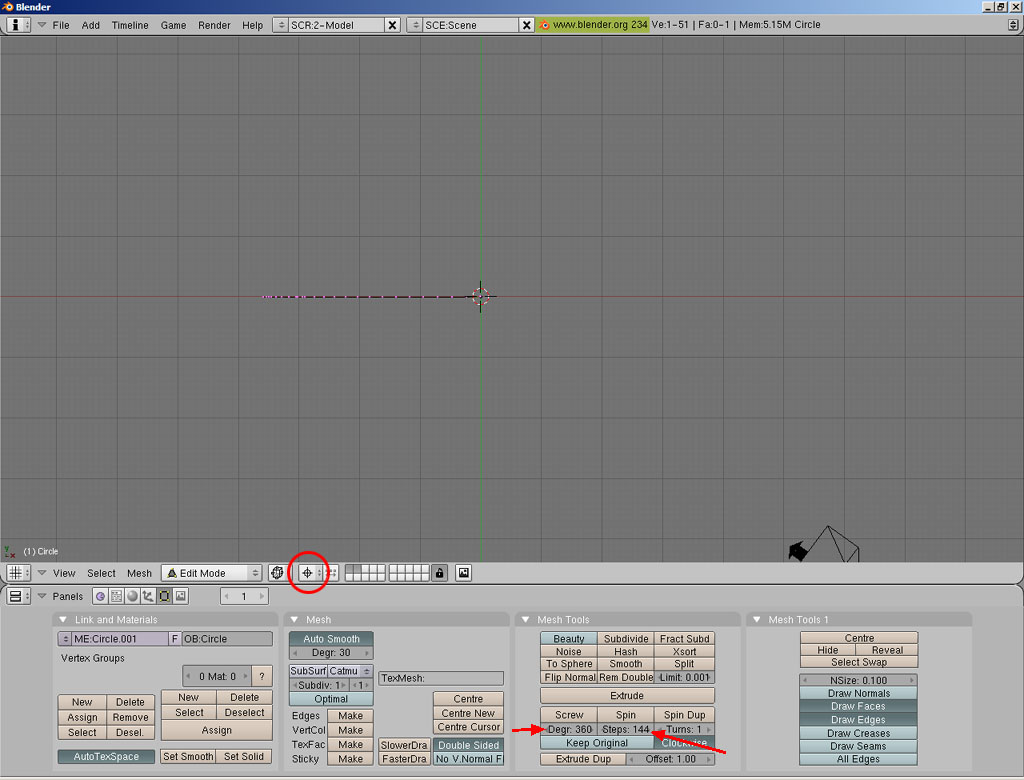
- Now we need to setup an operation called "Spin" which will take the profile we've created and extrude it around a pivot point.
- First let's change the Rotation/Scaling pivot point to "3D cursor". This button is highlight in the screen shot with a red circle.
- In the "Mesh Tools" Panel there is an input box named "Degrees" and one named "Steps". These are highlighted in the screen shot with red arrows.
- Change "Degrees" to 360 and change "Steps" to 144.
|
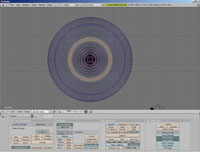
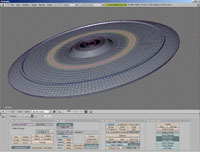
- Now let's do the spin. Press the "Spin" button.
- We now have a 3D saucer shape but there's one thing left to do before we move on. Press AKEY to deselect any selected vertices and then press it again to select all vertices.
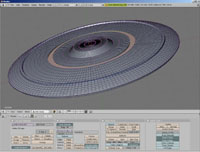
- On the "Mesh Tools" panel press the "Rem Doubles" button. This is will "weld" the shape together (There's more to be said about this but for now that will have to do).
- Press AKEY to unselect all vertices (they should all now be pink).
|
 |
 |
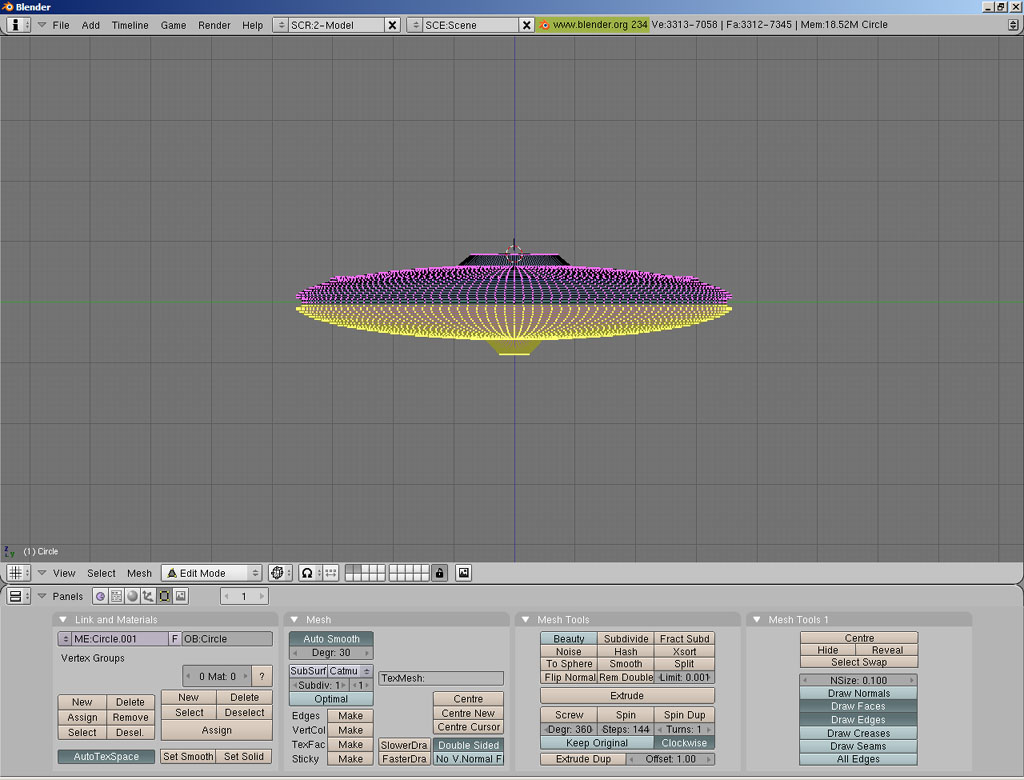
- Press NUM3 to switch to side view.
- For the next step we will need to get some of the vertices out of our way so let's hide them.
- Box select the lower half of the mesh and press H (they are still there you just can't see them).
|
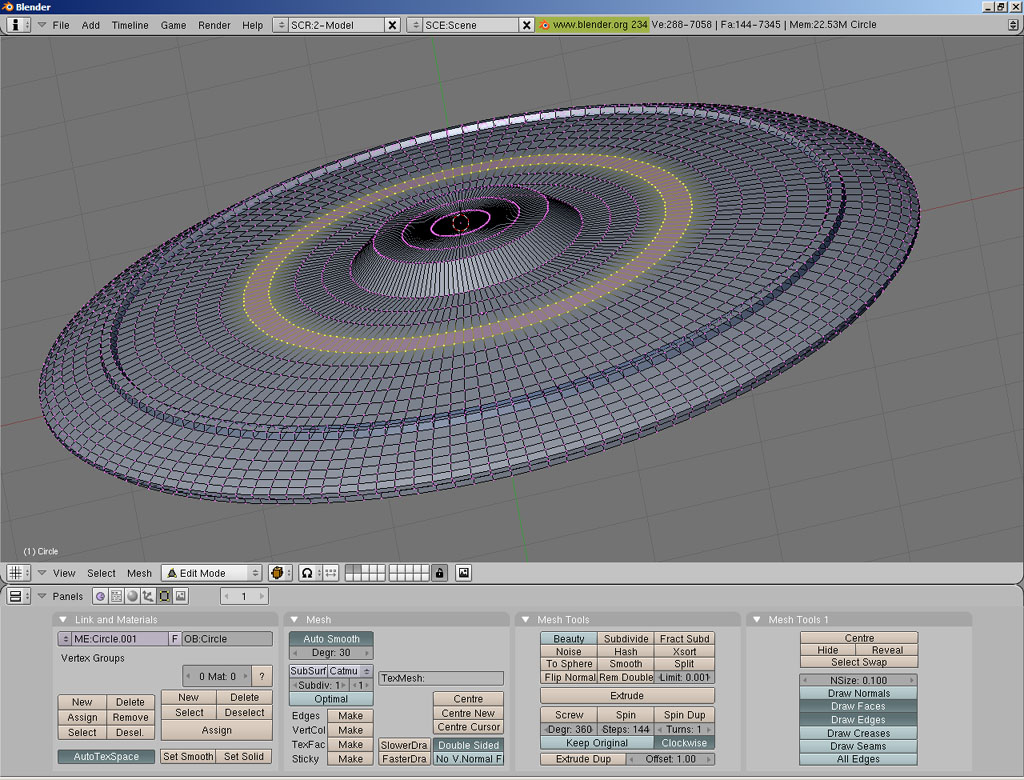
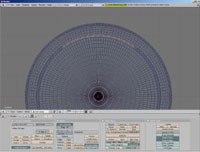
- Back to top view by pressing NUM7.
- In the "Mesh Tools 1" panel select the buttons labeled "Draw Faces" and "Draw Edges".
- We are now going to make an indentation in the saucer.
Start the face loop select tool by pressing SHIFT+RKEY.
- Move the cursor to one of the radial lines of the mesh and you will notice two yellow circles appear.
- The select is made by pressing LMB (Left Mouse Button), using the screen shot as a guide select a loop of faces.
(Changed for Blender 2.40, update coming soon)
|
 |
 |
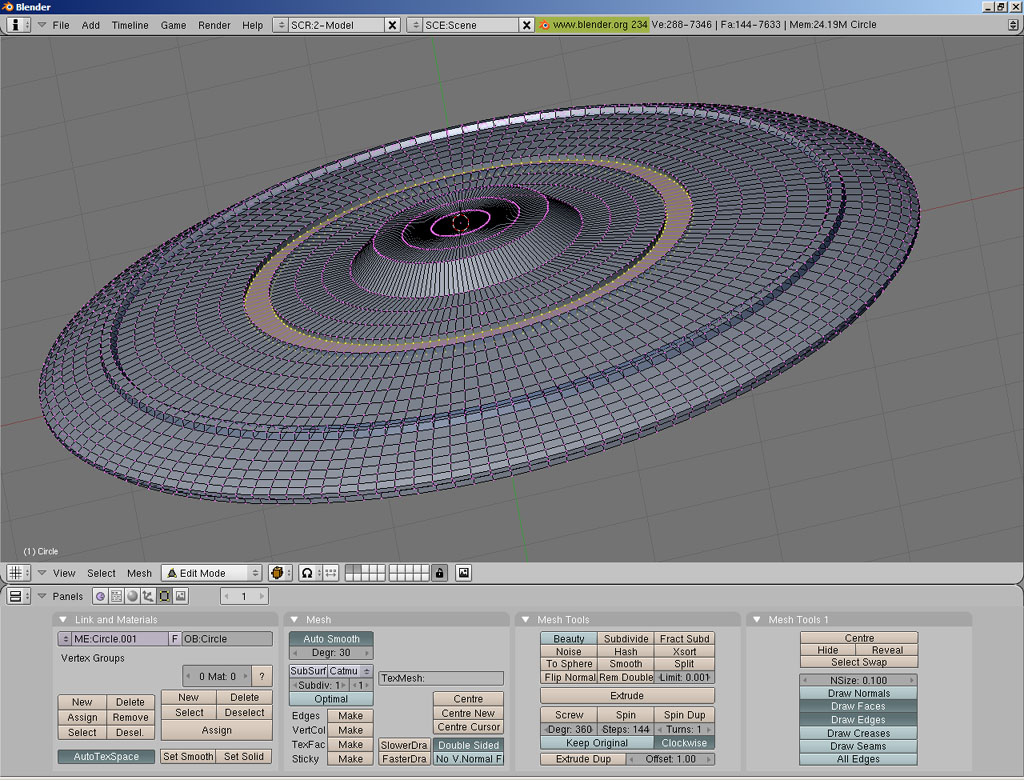
- To make things easier to visualize in this next step we will switch to shaded mode by pressing ZKEY.
- The next step is to rotate the viewport (not the mesh) by holding down the MMB (Middle mouse button) and dragging.
- If you need to pan hold down SHIFT while dragging with MMB. Take a few minutes to practice this if you need to and then move the view to a position similar to the screen shot.
|
- Start the extrusion by pressing EKEY.
- Move the mouse down and press MMB, this will constrain the extrusion to the axis of movement.
- Using the screen shot as a guide move the extruded faces into position and press ENTER.
- We will now remove some vertices from the raised strip.
|
 |
 |
Using face loop selection (SHIFT+R) select the top of the strip.(Changed for Blender 2.40, update coming soon)- Switch back to top view with NUM7 and we will deselect all but the top 40 some degress of the selection.
- Do this by activating box select (BKEY) and while holding down ALTKEY draw a box around some of the selected vertices that need to be un-selected.
- Do this until you have a screen that resembles the screen shot.
- We will now delete the remaining vertices by pressing XKEY and selecting "Vertices" from the popup menu (There are infact two faces that need to be added at the ends of the strip but I'm considering that outside the scope of this tutorial.
|
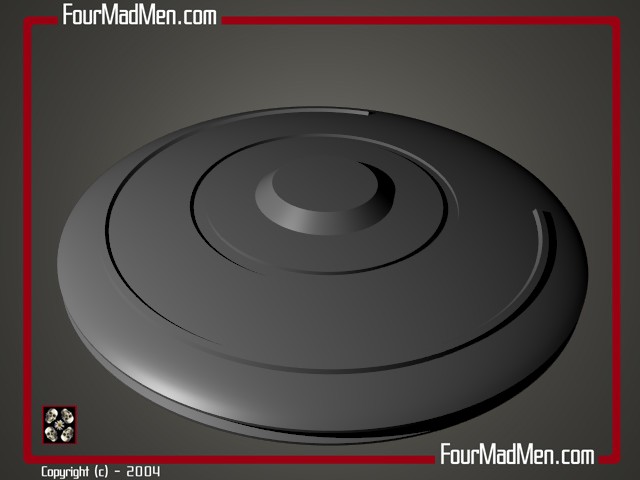
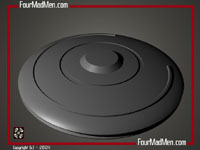
- That's it. OK, I lied... The only left to do is render by pressing F12. The default blender scene comes with a camera and lamp so you should now see your saucer in the render window.
- In order to get it to match the render seen here you will probably need to scale the whole saucer bigger or move the camera closer. Also the render you see here was created with Oversampling (OSA) set to 8.
|
 |
As in life, anything you wish to do can be accomplished in different ways. The indentation could have been modeled in the profile before the Spin operation and the raised strip could have been added after the Spin operation.
In fact everything you see here can be done with non-mesh objects such as NURBS.
It really depends upon what your trying to accomplish and more importantly what the final shape is going to be. If there's enough demand I'll probably consider other tutorials on Bevel Objects (Rail Extrusion), Tips and Tricks for faster modeling, Mirroring, the list is endless so we'll just have to see where that takes us.
Depending on your experience level I'm sure I've added detail you didn't need just as much as I have neglected detail others may require. The Blender user guide is a good source for the basics as well as the vast number of Blender turtorials out on the web. If there are indeed questions you have about this tutorial please don't hesitate to ask them (and if your seeing this tutorial you know how to find me).
|
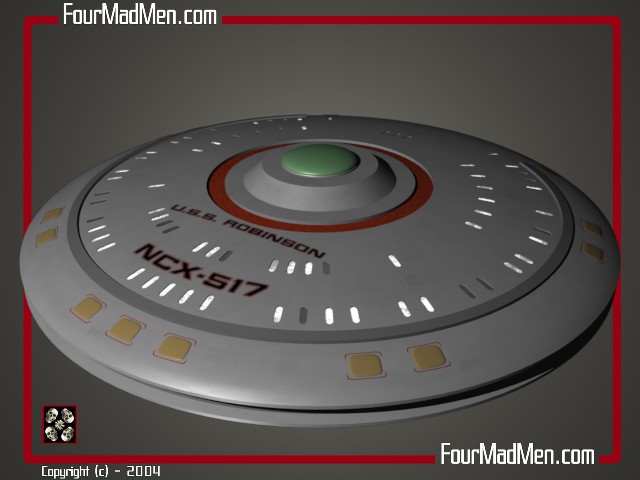
In future tutorials perhaps we'll work the saucer towards something like this...
Happy Blendering!!!
— Four Mad Men
|
 |